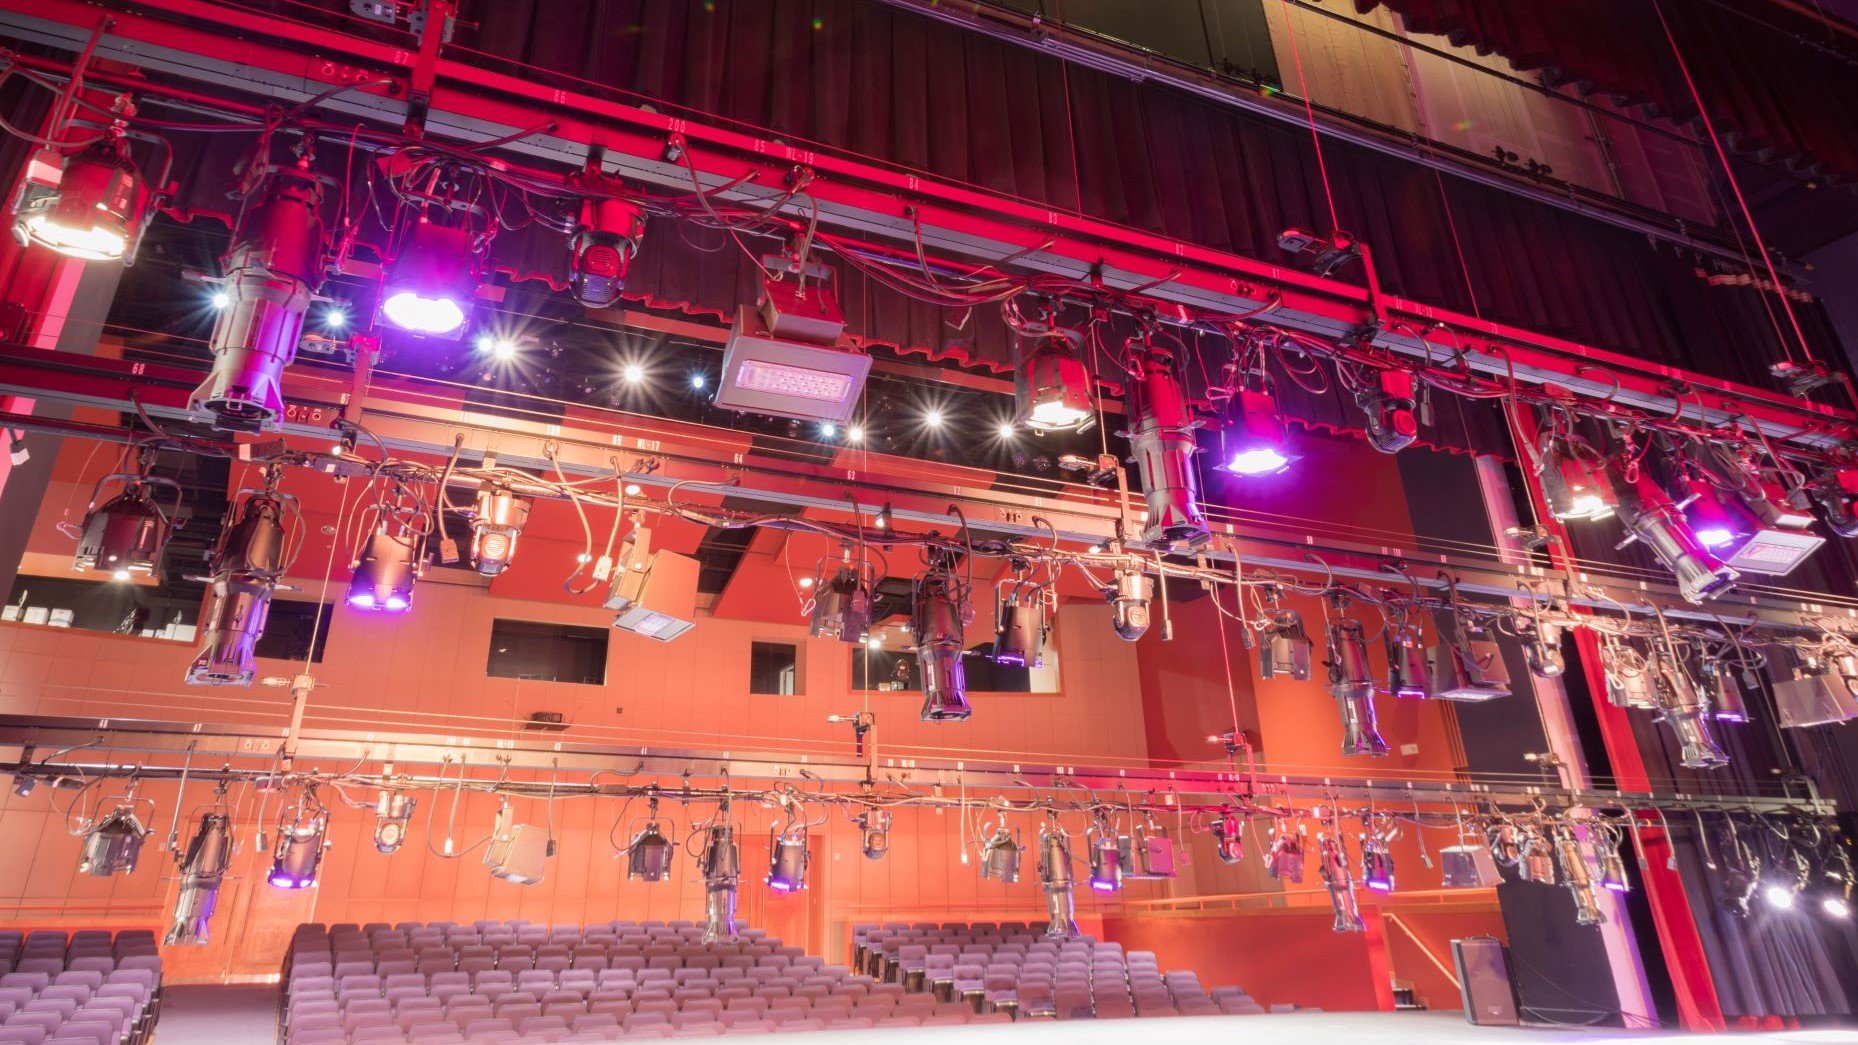
Welcome to the third installment of our series on stage lighting design! Following on from Part 1: Introduction to Lighting and Part 2: Objectives of Lighting Design, in Part 3 we will delve deeper into the controllable properties of light and explore how they can be manipulated to achieve the essential objectives of lighting design. By understanding and harnessing the power of intensity, color, distribution, and movement, you will be able to create a mesmerizing theatrical experience that captivates your audience.
Controllable Properties of Light
To achieve our five objectives (visibility, revelation of form, composition, mood, and information), we will need to make decisions about what types of lights we will use, where we will rig them, what color they should be, and how bright they will be in each cue. As a medium, light has four properties that we can control. By manipulating these properties you will meet your five objectives and are well on your way to your first successful lighting design.
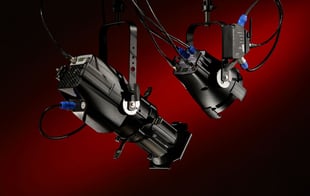
It does not matter which lights you are using, all of them will give you control, to varying degrees, of the following properties:
-
Intensity
-
Color
-
Distribution (focus)
-
Movement
Intensity
We are all used to changes of intensity in light; we experience them every day. It has always been the primary desire of the lighting designer to control the amount of light on stage. When electric lighting became popular, lights were connected to dimmers as a way of controlling the intensity of the lamps. While the nature of dimming technology has changed over the years, they are still prevalent in our theatres. Lights that use LED technology are still capable of being dimmed, but this is done electronically from within the luminaire.
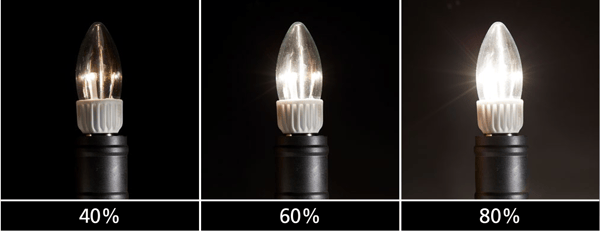
As lighting designers, we are less concerned about how bright a light is, and more with how bright it appears to be. Of course, the actual brightness is a consideration when selecting fixtures for your show, but when you are creating the lighting, you will set the intensity (also known as ‘levels’) of the light to create the look and feel that you want.
Intensity and your objectives – Intensity helps you achieve your design objectives:
• Visibility. The more light you have on stage, the easier it is to see the action. By simply changing the intensity of the lights on different parts of the stage, it will help guide the audience’s attention – our eyes are naturally drawn to the brightest parts of the stage. We should be a little cautious here though – it is possible to create a situation where there is too much light on stage. When this happens, it can be difficult to control your audience’s focus. The ability to skillfully balance the intensities of all the lights in your rig is part of what makes a successful designer.
• Revelation of form. Some people think that the lighting designer’s job is to eliminate shadows. Shadows can add depth and dimension, so it is not necessary to try and eliminate them all. When a light is at a lower intensity, the shadows can be more apparent. At higher intensities, some light may be reflected, and this will start to soften some of the shadows. If you have two lights focused on to your actor, one from each side, and one of the lights is at a lower intensity, then this will help ‘shape’ the actor and create a three-dimensional shape on stage.
• Composition. By varying the intensities of different parts of the stage you can not only guide the audience’s focus, but you can create beautiful stage pictures with a brighter light center stage that fades out to the edges, for instance.
• Mood. As a general rule, the brighter it is on stage, the happier it will feel – you may have heard the old adage “Bright lights for comedy.” Conversely, the darker it is on stage, the more moody and ominous it can start to feel – after all, murder mysteries normally take place “on a dark and stormy night…”
• Information. Brighter lighting will imply daylight, or a scene or location that would inherently have more light. Darker lighting will imply night-time or locations that might inherently have less light.
Color
Theatre is rarely a monochromatic place and color is a powerful tool in the hands of the lighting designer. Color, perhaps more so than any of the other properties, helps you achieve the information, mood, and composition objectives. While visibility determines whether or not we can see something, color determines how we see something. Careful color choices can enhance scenery and costumes, create fantasy worlds of swirling color, or conversely reduce the stage to a desolate, colorless place.
Traditionally, before the introduction of LEDs, color was changed by using filters called “gels.” Filter manufacturers each have their own range of colors, both in saturates and tints, that you use to create your world on stage. Filter selection used to be an important part of the design process. You would select your colors, cut the filters to the correct sizes and then fit them to the lights. If you wanted to change a color, you would have to cut a new piece of filter, climb a ladder, and change the color on the light.
LED technology has made this much simpler: now it’s possible to change the color of a light directly from your lighting desk, and you have a virtually limitless color palette to choose from. Even though we use LEDs to change color these days, the same principles of color theory still apply and we will cover this in more detail in Part 6: Color.
In addition to obvious color choices for suggesting day-time or night-time scenes, different colors can have different meanings and this is sometimes the motivation for our color choice. Sometimes, our choice of color is more subliminal – if we want to manipulate the audience’s response to what is happening on stage, we can choose colors that have psychological or symbolic meaning instead.

By combining the color meanings above with the knowledge of how color can enhance scenery and actors’ appearances, you are armed with a powerful tool to help convey mood and information.
Color and your objectives – While color will mainly assist in achieving mood, composition and information, it can help with your other objectives too.
• Visibility. Color can play an important role in helping with visibility. Darker, more saturated colors will make it more difficult for the audience to see what is happening on stage. Also, the darker the color (especially when using gels), the more intensity you need to achieve similar light levels.
• Revelation of form. Adding color into the shadows can add an extra level of dimension and depth to the stage. Similar to intensity, two lights focused to the same actor in different colors will help sculpt them and make them appear more three-dimensional.
• Composition. We are drawn to colors that “belong” together. We will typically choose a palette of colors that complement each other as this creates pleasing pictures on stage.
• Mood. The mood of the scene is largely dictated by the color choices you make. Generally speaking, warmer-toned colors (ambers, pinks, yellows, and certain lavenders) will create a happier mood on stage. Cooler-toned colors (blues, greens, and certain lavenders) will lead to a sadder or more somber feel on stage.
• Information. Color can tell a story and set the location and time of day. For example, if you wanted to create the effect that the actors are sitting in front of a fireplace, you would choose warm ambers and yellows to emulate the color of the flames.
Distribution
This refers to both the types of lights you have chosen and the way in which they are focused – in other words, how the light will be distributed on the stage. You may want a well-defined pool of light for a monologue, or perhaps you are just looking for an even, general wash of light on stage. Within your show, there are a number of different “looks” or lighting states that you might want to create, and several different kinds of lights that you can use. Each has its own purpose and will give you different results depending on how you decide to use them.
When we talk about distribution, there are three main elements that we are referring to. The first is the type of light you are using, the second is where you choose to position it, and the third is how you choose to focus the luminaire. Each type of light has its own unique set of characteristics and properties, and as such, has a job that it is best used for. Most lighting instruments will fall into one of these categories:
• Floodlights
• PARs
• Fresnels (Focus spots)
• Profiles
We will look at the different types of lights in greater detail in Part 4: Types of Lights. When planning your lighting rig, you will need to make some decisions early on about where you are going to position your lights and what types you want in each position. Different positions will give different effects. While, in theory, it is possible to put a light anywhere, there are five positions that are used most often.
• Front light
• Side light
• Back light
• Top light
• Up light
We will look at each of these in more detail in Part 5: Lighting Angles.
Movement
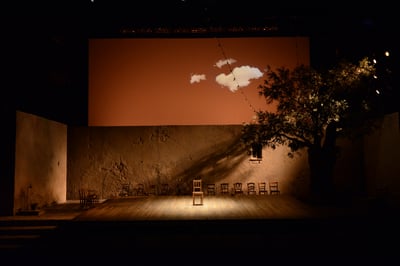
A change of either a single property of a single light, or all the properties for all the lights is thought of as movement. Movement in this context does not really apply to the physical movement of the light beam (something which has become very popular since moving lights became accessible) but refers to the way in which we transition from one lighting state to the other – so in this instance, movement relates to time.
We can decide whether the change from one cue to another is instantaneous – perhaps someone has entered the stage and flipped on a light switch on the set – or perhaps it is more gradual – a slow change from sunrise to a bright morning light, for instance.
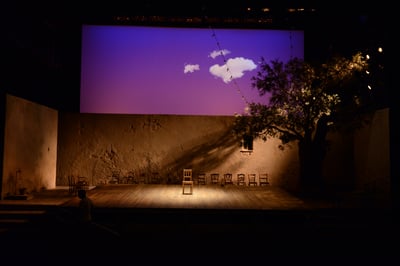
Movement and your objectives – Movement mainly contributes to the mood and information objectives, but does affect the other objectives too.
• Visibility. Too many rapid changes of light can tire the audience’s eyes leading to visual fatigue which may make it harder for them to focus on the action. During slow crossfades, there may be a point at the lower portions of the intensity spectrum where there is not enough light to be able to see properly.
• Revelation of form. Transitions have a minimal effect on the appearance of objects on stage, although a fade from a front light to a side light would introduce more shadow, making the lighting more dramatic.
• Composition. While transitions rarely have an effect on the appearance of objects on stage, sometimes you may want to reveal objects to the audience more slowly and dramatically.
• Mood. Rapid light changes could suggest a mood that is more aggressive or passionate and would suggest a sense of pace. Slower changes, like the gradual change from sunrise to morning light, suggest a calmer scene. Similarly, a darkening sky could suggest a sense of foreboding.
• Information. Slower changes in the lighting states could suggest that time is passing; a change from afternoon to sunset, perhaps. A more instantaneous change would be expected if an actor turned on a switch and the room lit up.
If you found this information helpful, don't miss our blog series dedicated to the art of stage lighting design, right here:
Stage Lighting Design, Part 1: Introduction to Lighting
Stage Lighting Design, Part 2: Objectives of Lighting Design
Stage Lighting Design, Part 3: Controllable Properties of Light
Stage Lighting Design, Part 4: Types of Lights
Stage Lighting Design, Part 5: Lighting Angles
Stage Lighting Design, Part 6: Color
Stage Lighting Design, Part 7: Lighting Systems
Stage Lighting Design, Part 8: Planning Your Design
Stage Lighting Design, Part 9: Getting Technical
Stage Lighting Design: Glossary
This blog series is an adaptation of our free digital guide, Stage Lighting Design: An Introduction, based on content written by ETC Outreach and Training Specialist, Declan Randall.
If you're hungry for more knowledge, head over to our website where you'll find a comprehensive digital guide Stage Lighting Design: An Introduction (plus a set of accompanying posters) to download for free.
Image details, Movement section:
Liola, National Theatre, London Photo credit: Max Narula


